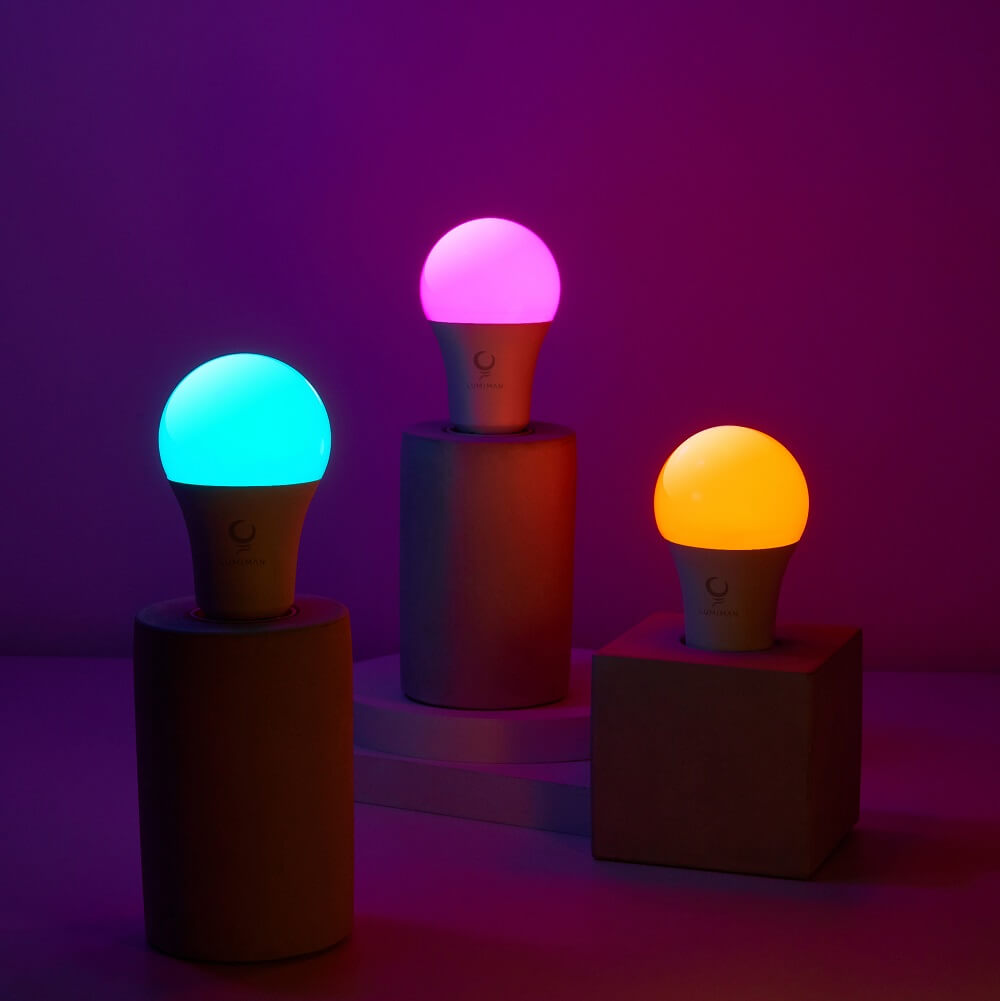
Now that there are many smart LED bulbs to choose from, and they come in an array of styles and specs to suit any smart home. There are three main ways to connect smart bulbs. Most of them are connected through the local Wi-Fi network, Bluetooth connection of mobile phone, or ZigBee hub. Here I am going to introduce the first method. The following is my quick and easy guide to install a LUMIMAN Wi-Fi smart light bulb.
Wi-Fi-enabled LUMIMAN smart bulbs cost just $19.99 each, making a better smart home for you
Wi-Fi
There is plenty of great Wi-Fi dimmable LED color-changing smart bulbs on the market, they are all easy to install. Here I’d like to LUMIMAN Wi-Fi smart bulb installation steps.
1.Scan the QR code or download the “PlusMinus”App at www.plusminus.ai/app

2. Register an account with your email in and login App
3. Add a device and select the Device Type;

4. Follow the in-app instructions to complete the installation.
EZ configuration mode: Light bulb blinking 3 times
AP(hotspot) configuration mode: Light bulb blinking once every 3 seconds.
Note: LUMIMAN smart bulbs only can be set up on the 2.4GHz network.
5. Users can re-name or share the device after the Wi-Fi connection is finished.
If you want to know more installation details:
LUMIMAN set up video will also help you better understand installation steps:


Leave a comment
All comments are moderated before being published.
This site is protected by hCaptcha and the hCaptcha Privacy Policy and Terms of Service apply.